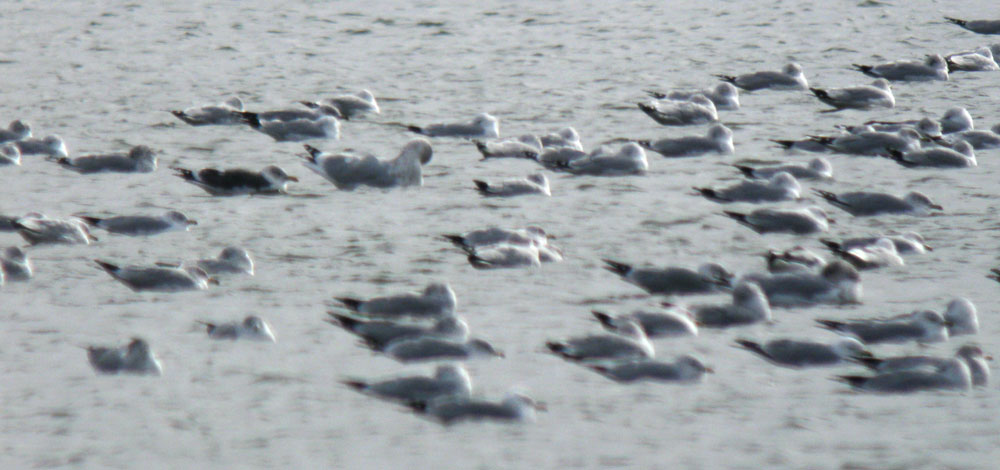
As I work on the revision of my field guide I’ve been giving a lot of thought to how the book can assist the process of identification, and what information is most useful to a birder in the field. I’ve settled on the idea that there are two stages of bird identification, each one requiring a different mindset and different field marks. Most bird identification literature lumps them together, but I think it’s helpful to understand the differences between those stages and how we use field marks in each one.
I’ll call the two stages discovery and confirmation.

We’re in discovery mode when scanning a flock or searching through a habitat looking for a certain species, or at the moment when a bird pops up in a bush and we say “Hey, is that a..?” Field marks useful for discovery are broad and generic, often average differences that can be seen at a great distance or assessed instantly to weed out the obvious non-candidates. Once a candidate is found we switch to confirmation mode and look for more objective details.
For example, when trying to discover a LeConte’s Sparrow we don’t have to see an orange face, we can just ignore the birds that look large, or dark brown overall, or long-tailed, and focus our attention on any small sparrow that looks sort of pale and buffy. Scanning a flock of gulls for a Lesser Black-backed we might be looking for a dark gray mantle to quickly narrow down the possibilities. Only after a Lesser Black-backed candidate has been discovered do we switch to confirmation mode and look more carefully for head streaking, relative darkness of the mantle, bill shape and color, head shape, leg color, wingtip pattern, etc. to eliminate other possibilities. Scanning the flock looking at bill color, head shape, etc on every bird would soon lead to confusion and despair. Those details are essential for confirmation but not very useful for discovery.
This is true even with “unmistakeable” species. For example, if we’re scanning for Snowy Owl the best advice is to look for a football-sized white lump on the ground or on a mound or rooftop (not in a tree). But not all such lumps are Snowy Owls, so once a possibility has been located we have to look for the right shape, pattern, eye color, etc to confirm that it’s a bird and a Snowy Owl.
Experienced birders often give helpful tips like “just look for a bird that’s smaller and overall darker.” That’s very useful advice to help discover a candidate, and discovery is the essential first step in the identification process, of course, but really identifying the bird is another matter. ((An interesting aspect of this is that psychological research shows that as we gain expertise the moment of identification becomes simultaneous with the moment of discovery. As soon as we perceive that a bird is there, we know what it is. In that case, when an expert birder suggests looking for the “discovery” features, they are often able to make more finely-honed judgments, and assess other features and probabilities to arrive at an identification at the moment of discovery. What they are really saying then is “look for a bird that’s smaller and darker overall, and if it’s smaller and darker in just the right way, that’s the bird”. For less experienced birders, however, the more methodical confirmation step is required.))


Dave
In engineering it’s called a “first approximation”. I’ve been aware of using the process in bird ID for some time now and it can stretch to several steps of fine tuning.
Chuck
Very sage advice. I think most experienced birders do this, whether they even realize it or not! It definitely should be included in your revised edition.
This type of “discovery” is used in the Pacific NW to spot and separate the buffy Lincoln’s Sparrows from the darker rusty Song Sparrows in the marsh grasses as they fly away. If you were looking for the traditional “field marks” you’d never make these identifications, you’d just have 50 “sparrow (species).”
I’ve also noted personally when quickly scanning through a gull flock that I can’t simultaneously search for rare Slaty-backed Gulls and Glaucous Gulls–I have to search for dark gulls first, then go through the flock again and look for pale gulls. When I’ve gotten a feel for the whole flock, and checked closer (“confirmed”) any potential target species, I go through slower, one at a time.
I think this is why more experienced birders can quickly walk up to a flock of gulls, ducks, shorebirds, sparrows, and “find Waldo” (does that date me?), before the whole flock flies away or reshuffles.
Good points Greg. Just to clarify for other readers I would add to your example of the Lincoln’s Sparrow that the buffy impression that allows you to identify them is sufficient only if you have enough experience to know what looks “right” for Lincoln’s, and only where Lincoln’s is expected so there is no real consequence to being wrong once in a while. If you really wanted to confirm it for a life list or to satisfy a records committee, obviously you would want to see more details. You’re making the “first approximation” as Chuck calls it, and often that’s all you need.
And I agree completely on the need to work on one search image at a time. It’s the same as if you were sorting coins on a tabletop. It’s a lot more efficient to look for quarters and pull them out, then dimes, then nickels, etc; rather than identifying each individual coin in turn and putting it in the right pile.
David and Greg: While I understand the point you’re making, and agree with it in many situations, I find that it is something that can lead one to miss birds. In the gull-ID workshops that I’ve taught, nearly the first point that I make is to “identify every bird, don’t just go looking for obviously different birds.” I find it much easier to go through a pontential mixed-flock of similar species one-by-one, identifying each one to be certain that nothing different escapes me. Yes, going through hordes of Ring-billed and Herring gulls and noting the dark-backed individuals is perfectly acceptable if all one wants to find is Lesser Black-backed or California gulls or if the flock may depart shortly. However, such cursory scans will probably not do the job of finding the Vega Gull. Or the European Herring Gull. Or even the Thayer’s Gull.
I find too many birders skip over large swaths of individuals in mixed flocks, finding only the very obvious different species. The true expert can scan through a flock, identifying every individual present, quite quickly, and with fair assuredness of noting all species present, simply because that expert is experienced with most or all of the species. This situation is, again, the difference that is created by experience and experts being able to “recognize” species rather than to have to go through the actual identification process.
I know, first-hand, that David knows this process very well, as I learned it while standing next to him watching swallows go by in the hundreds, David glassing every one that he could.
Hi Tony, Thanks for the comment. I agree with your points, which are a little different from the original post. I was saying that there are two general categories of field marks: broad and subjective ones that help with the “first approximation” and then the details that actually confirm that initial identification. We’re now talking about the best ways to “discover” birds in the field, which I think can be divided into a “fuzzy” search mode, looking for anything that catches your eye, and a “targeted” search mode in which you have a species in mind and a well-defined search image. The latter is much more successful and is the way experts find most rare birds, in fact I suspect that experts never get back to full “blank slate” fuzzy search mode. I think there’s material for several more posts here, and I hope to get around to that.
And to expand on your gull example, here’s the advice I learned as a kid, and it has served me well: It’s a progression from broad to specific, and it probably comes naturally, but I think it’s still worth spelling out. First, give the whole scene a quick “once-over” with the naked eye to see if there’s a flamingo or a Crowned Pigeon sitting there. Then scan once with binoculars looking again for anything obvious (and you might be looking for something very specific like a Lesser Black-backed Gull, or just hoping to spot something different, in either case someone with more expertise will be able to manage more subtle search images as they scan), then, finally, settle in with binoculars or telescope to study each individual bird.